Running C/C++ code to WebAssembly (WASM) in Next.js with Emscripten as a Single JS File
In previous article here, we have learned how to run C/C++ code to WebAssembly (WASM) in Next.js with Emscripten. The result is two files (one JS and one WASM). The WASM file needs to be in both the src/wasm and public directory. This is redundant and can cause confusion. The reason for this is because the adder_wasm.wasm file needs to be in the src/wasm directory to be able to be loaded by the adder_wasm.js file but also needs to be in the src/wasm directory to be able to be loaded by js itself.
In this article, we will learn how to combine the two JS files into a single JS file. This will make the file structure more organized and reduce potential confusion. In which the js file contains the base64 encoded .wasm file.
In order to do this, we can update build.sh file by adding the config -s SINGLE_FILE=1 to the emcc command. This will generate a single JS file that contains the base64 encoded .wasm file.
#!/bin/bash

MODULE_NAME=cpp/adder
OUTPUT_JS=src/wasm/adder_wasm.js

mkdir -p src/wasm

emcc ${MODULE_NAME}.cpp \
 -o ${OUTPUT_JS} \
 -s EXPORT_ES6=1 \
 -s 'EXPORT_NAME="$MODULE_NAME"' \
 -s 'ENVIRONMENT="web"' \
 -s 'SINGLE_FILE=1'
with this, we get a single JS file that contains the base64 encoded .wasm file located in the src/wasm directory. After that, we can update the page.tsx file to use the single JS file
// your previous code
...
useEffect(() => {
    // dynamic imports

    async function loadWasm() {
      if (typeof window !== "undefined") {
        WebAssembly.wrapper = await import("../wasm/adder_wasm.js");
        WebAssembly.instance = await WebAssembly.wrapper.default({
          locateFile: () => `/adder_wasm.wasm`,
        });
      }
    }

    loadWasm();
  }, []);
...
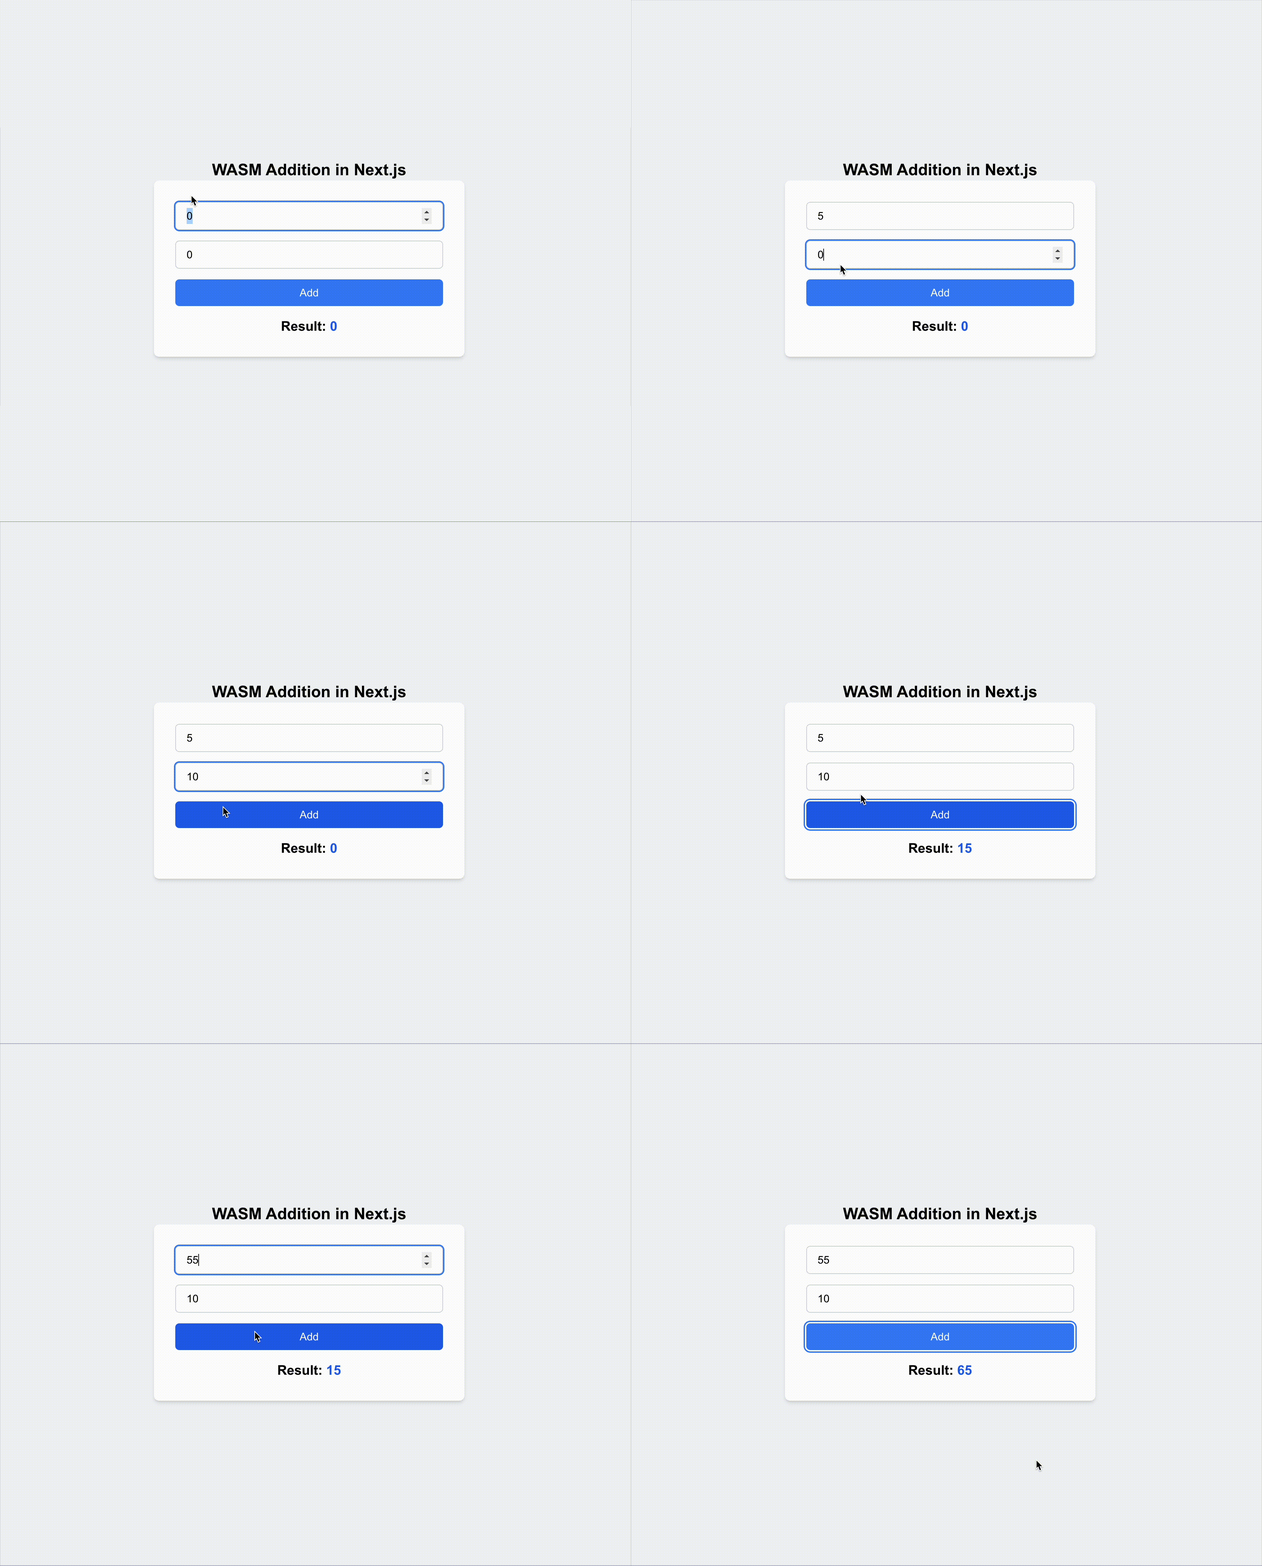
Then you can still get the same result as before.
